Calendar
The Sales Calendar is where users schedule, review, and manage time-based sales activities in JMS.
Use this page to plan meetings, demos, follow-ups, internal reminders, and availability checks from one calendar view. The calendar can be viewed by month, week, or day, depending on how much detail the user needs.
Calendar layout
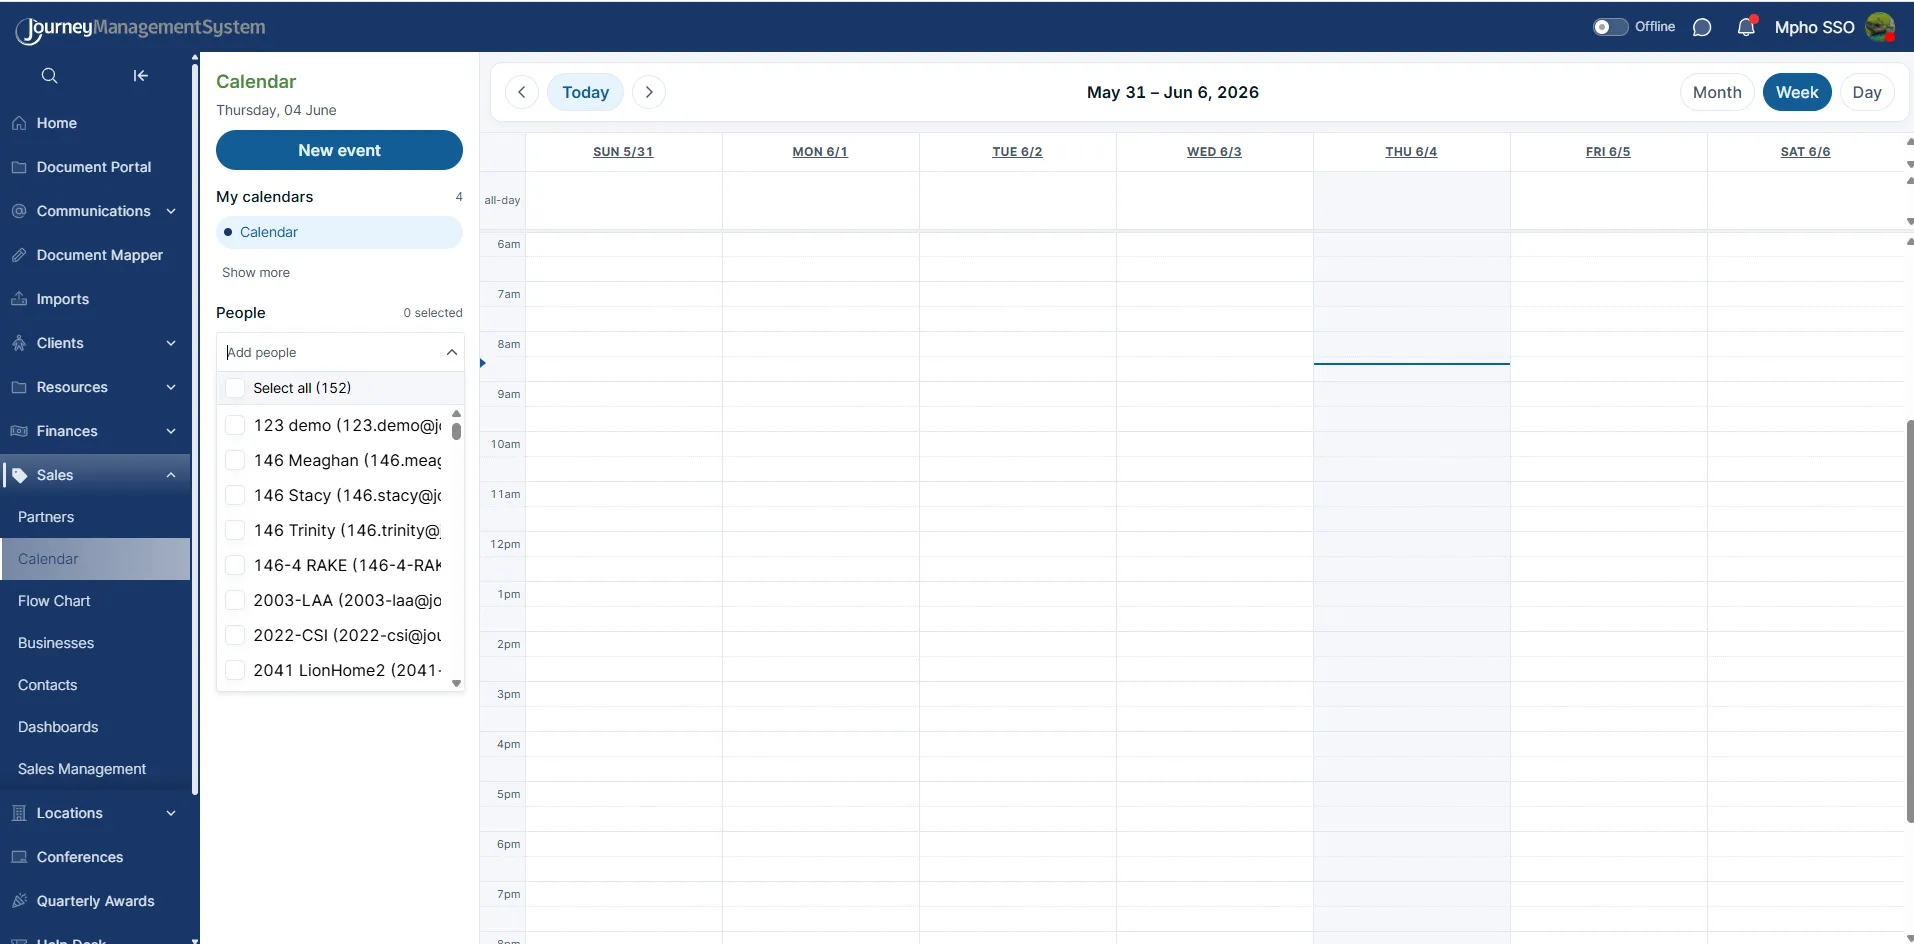
Section titled “Calendar layout”The Calendar page is split into two main areas:
- Left panel: Shows calendar controls, people availability, and upcoming events.
- Main calendar grid: Shows the selected day, week, or month.
The left panel includes:
- New event: Opens the event creation form.
- My calendars: Shows the calendars that can be displayed or hidden.
- People: Lets users select people to view availability.
- Upcoming: Shows events coming up in the next 14 days.
The main calendar area includes:
- Previous and next navigation arrows
- Today shortcut
- Current date, week, or month heading
- Month, Week, and Day view buttons
- Time slots or date cells, depending on the selected view
Switching calendar views
Section titled “Switching calendar views”Use the view buttons in the top-right corner to change how much time is shown.
Month view
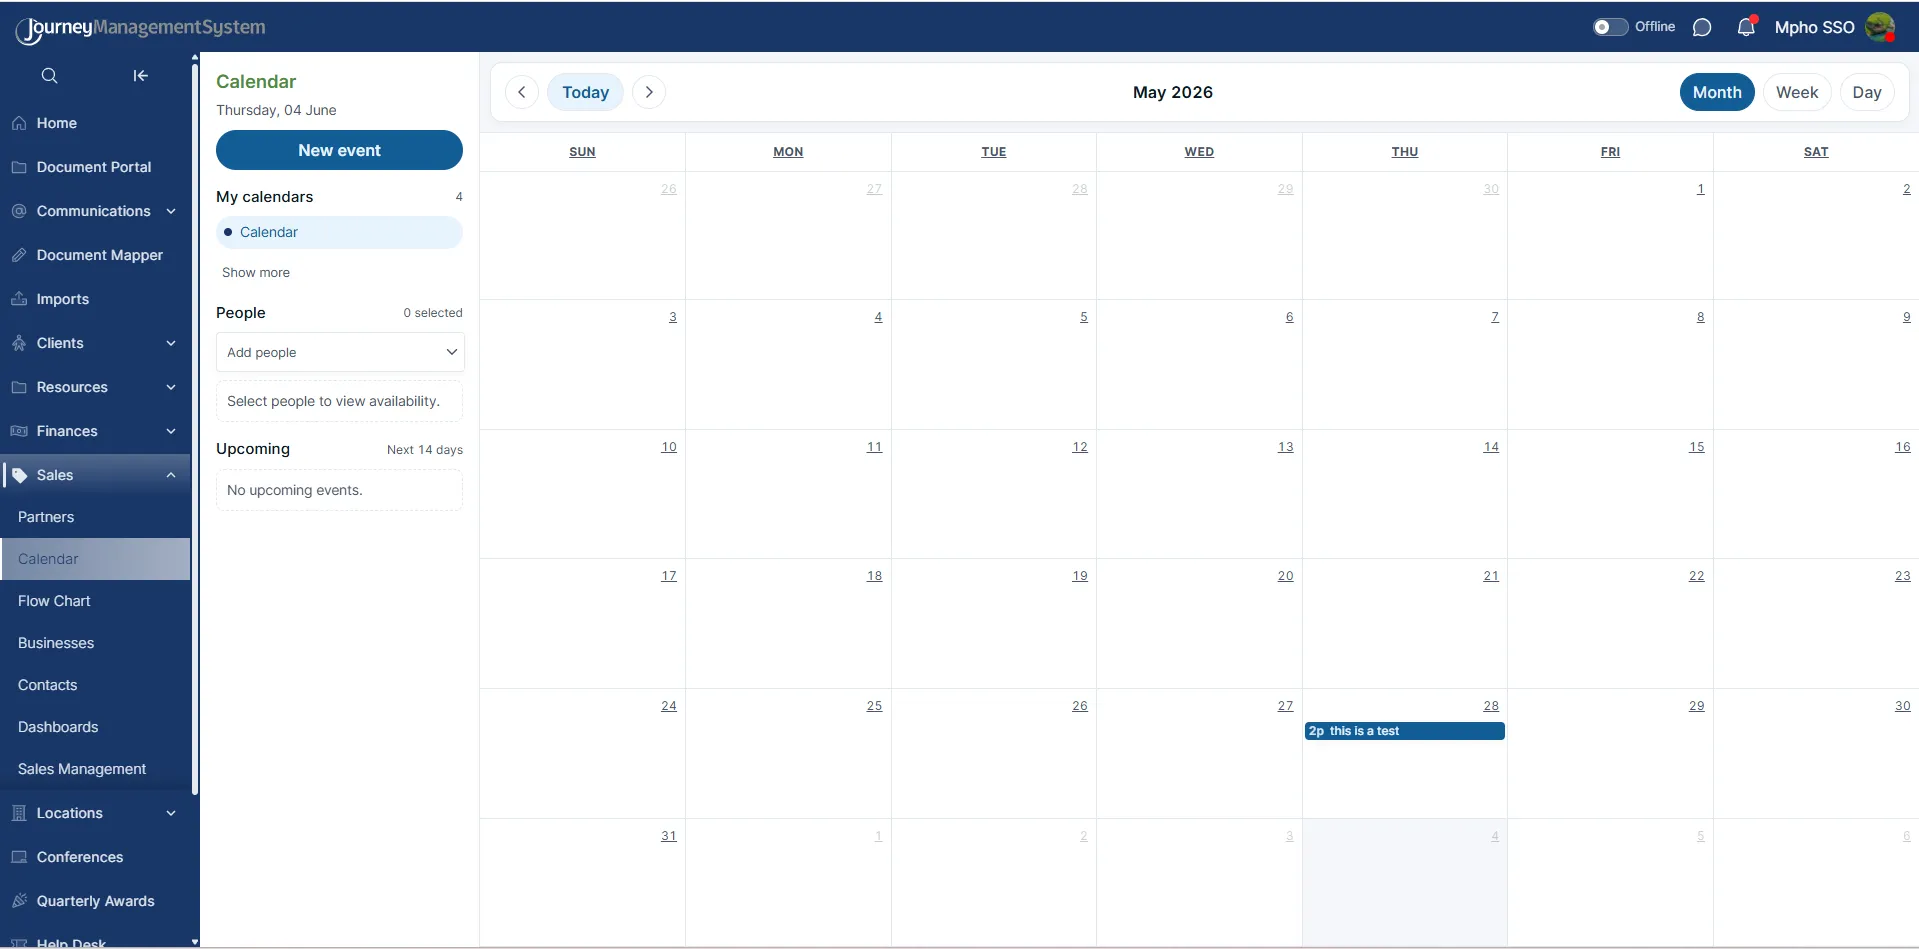
Section titled “Month view”The Month view shows the full month in a grid. This is useful when users need to scan the month for scheduled meetings, open days, or busy periods.
Events appear inside the date cell. In the example below, an event appears on May 28.
Use Month view when:
- Planning several weeks ahead
- Checking which days already have scheduled activity
- Reviewing where follow-ups or demos fall in the month
Week view
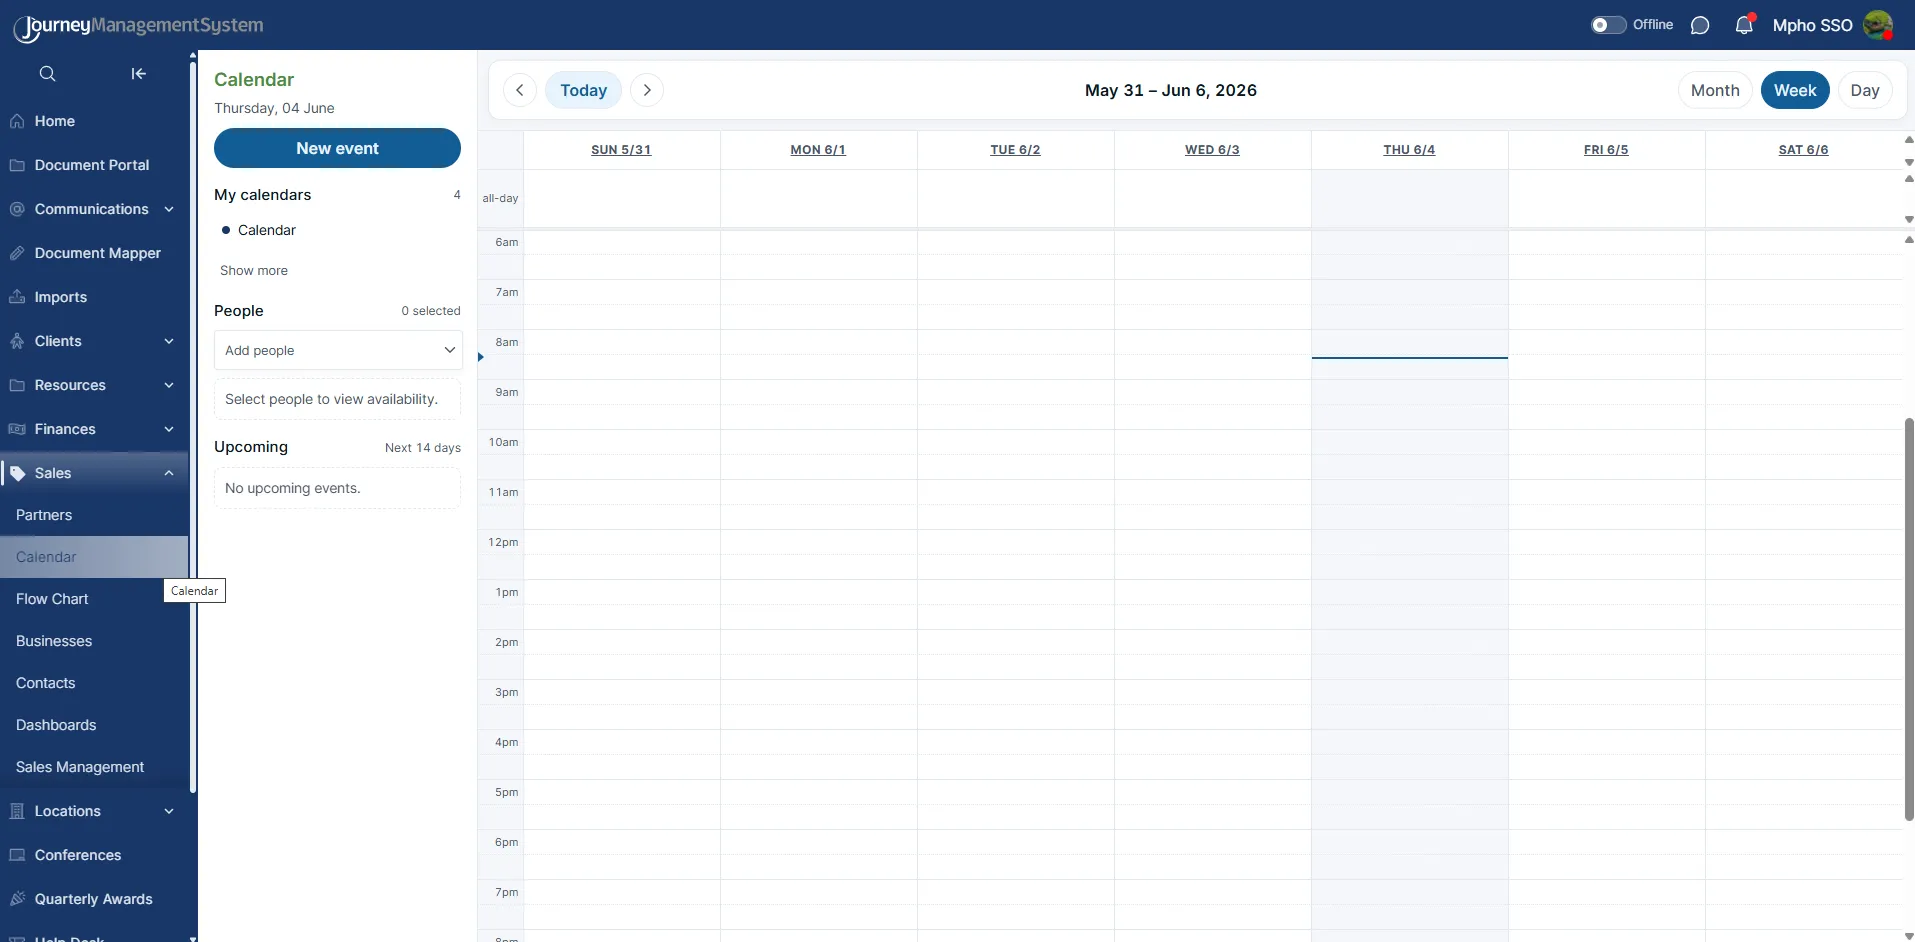
Section titled “Week view”The Week view shows one week at a time with hourly time slots. This is useful for daily scheduling because users can see exactly where meetings and follow-ups fit.
The current day is shaded in the weekly grid, and a horizontal line marks the current time.
Use Week view when:
- Booking meetings into specific time slots
- Checking the user’s availability across the week
- Comparing open time between different days
Day view
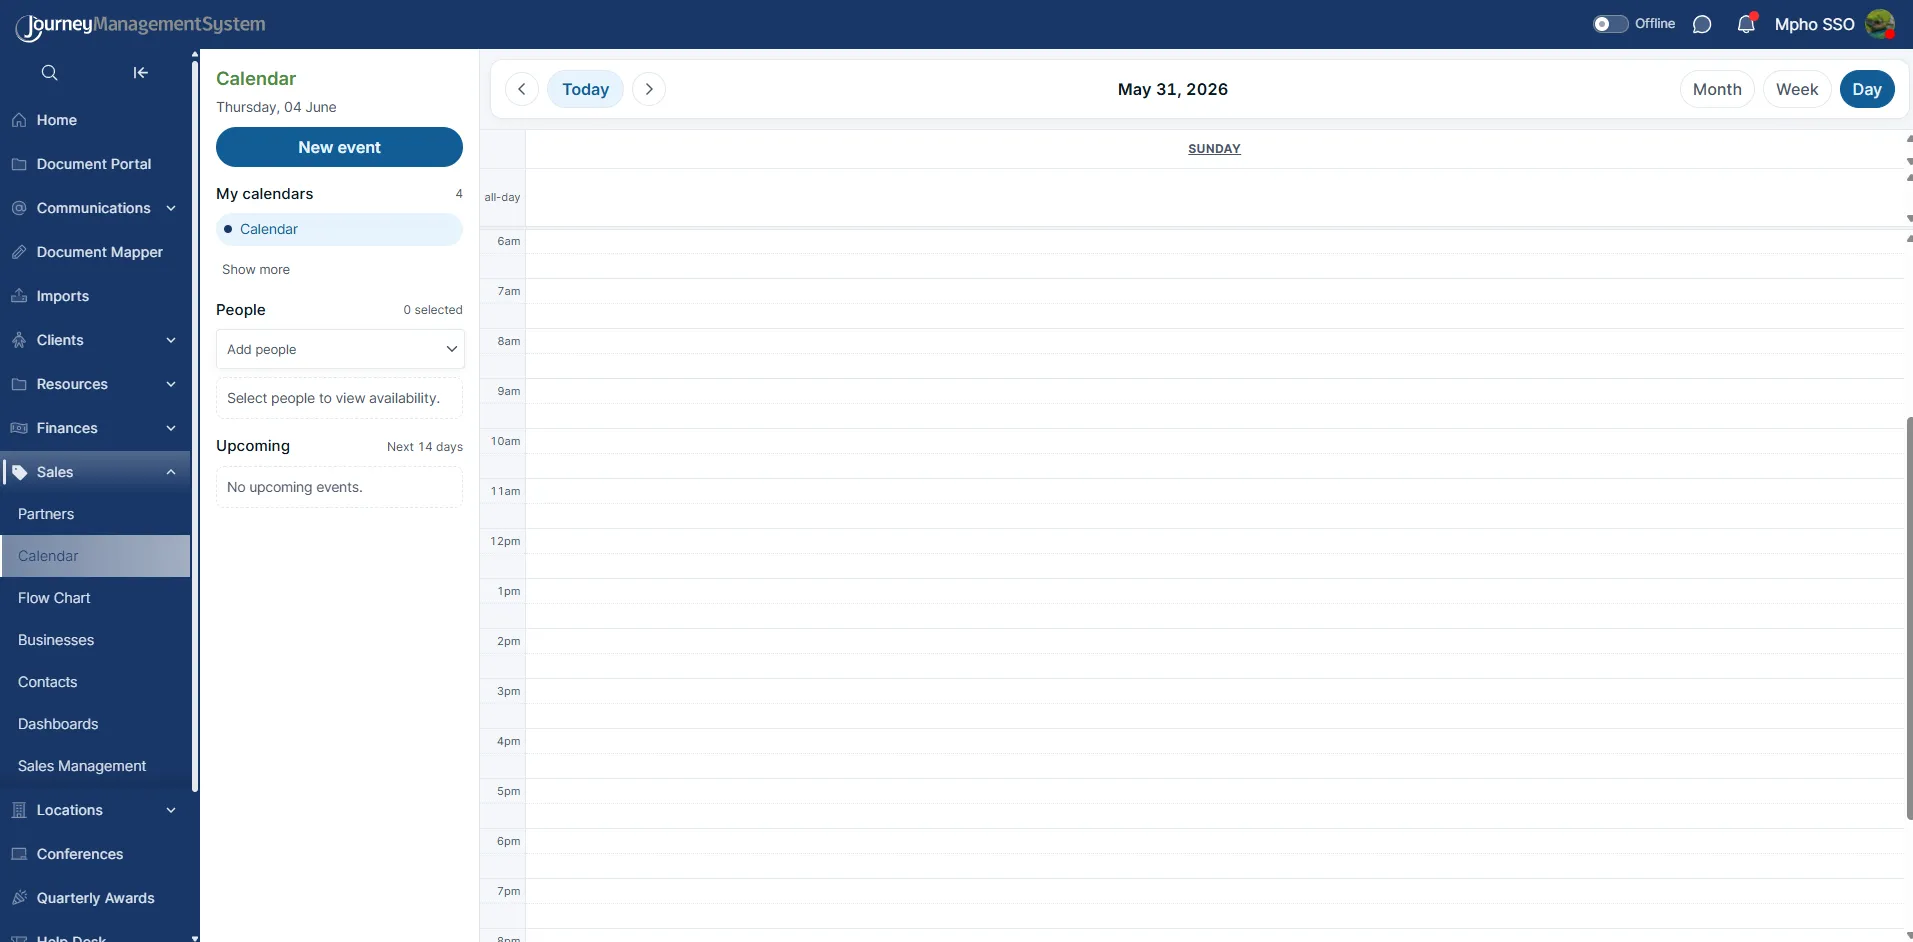
Section titled “Day view”The Day view shows one selected day with hourly time slots. This is useful when users need a focused view of a single day’s schedule.
Use Day view when:
- Managing a busy day
- Reviewing the exact schedule for one date
- Creating events at precise times
Navigating dates
Section titled “Navigating dates”At the top of the calendar, use the left and right arrow buttons to move backward or forward.
The Today button returns the calendar to the current date.
The heading in the center changes depending on the selected view:
- Month view shows the month and year.
- Week view shows the date range for the week.
- Day view shows the selected date.
My calendars
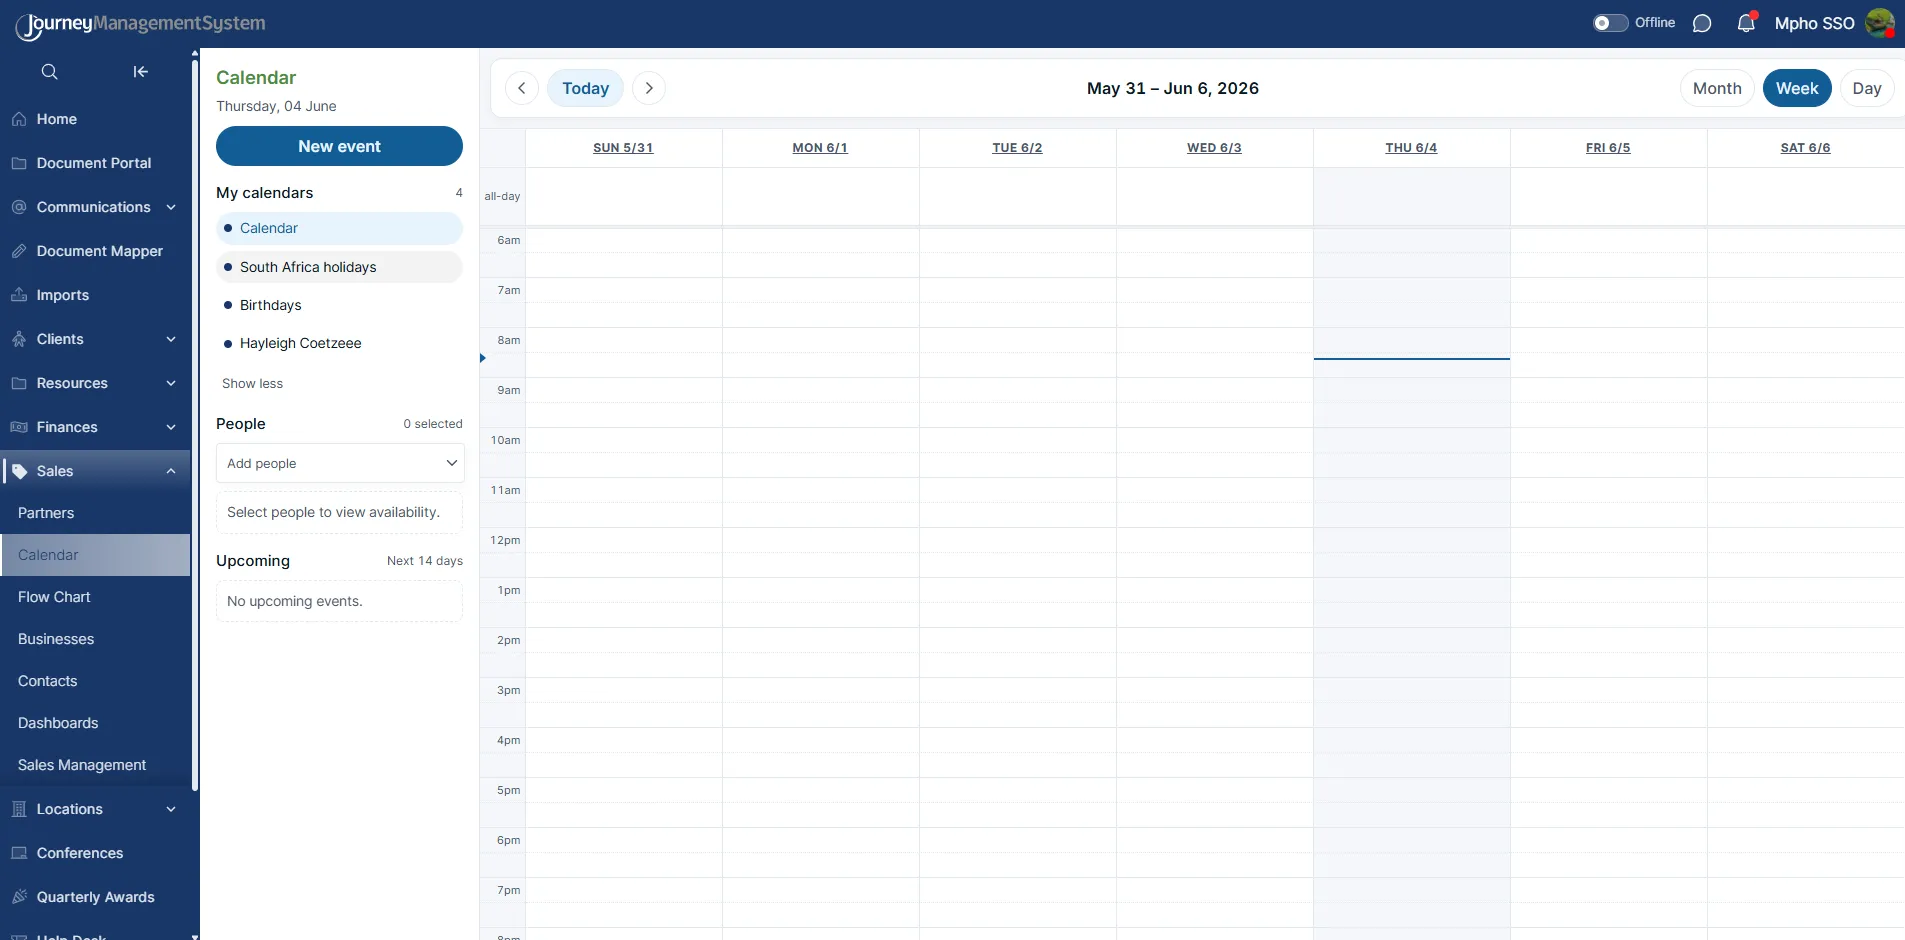
Section titled “My calendars”The My calendars section controls which calendars appear on the calendar grid.
By default, the user’s main Calendar is shown. Click Show more to display additional calendars, such as holidays, birthdays, or other user calendars.
Each calendar has a colored dot next to it. This helps users identify which calendar an event belongs to when multiple calendars are visible.
Click Show less to collapse the list again.
Viewing people availability
Section titled “Viewing people availability”The People section is used to check other users’ availability.
Click Add people to open the user list. The dropdown shows available users and includes a Select all option when many users are available.
Select one or more people to view their availability on the calendar.
This is useful when:
- Scheduling a meeting with another team member
- Checking whether a salesperson is available
- Finding a shared open time before creating an event
The selected count appears beside the People heading so users can see how many people are currently included.
Upcoming events
Section titled “Upcoming events”The Upcoming section shows events scheduled for the next 14 days.
If there are no events coming up, the panel shows No upcoming events.
Use this section as a quick reminder area before checking the full calendar grid.
Creating a new event
Section titled “Creating a new event”Users can create an event by selecting New event or by clicking an available time slot in the calendar.
The New event form opens in a popup over the calendar.
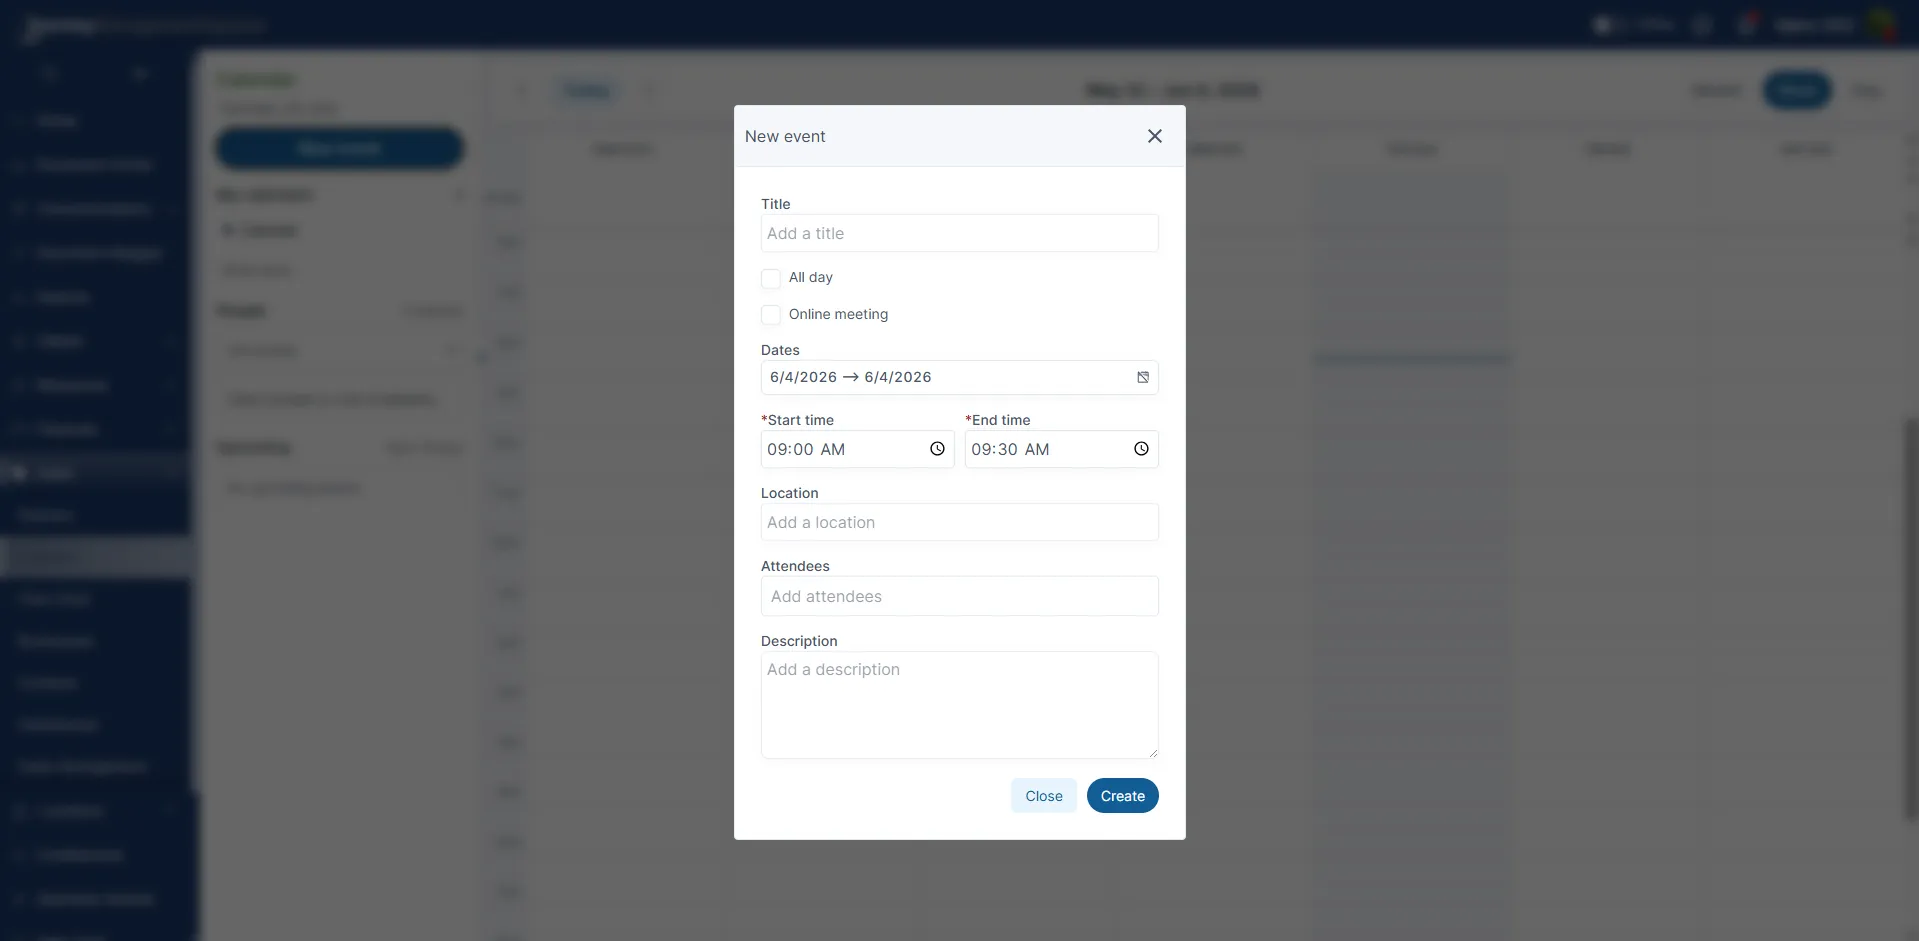
The event form includes:
- Title: The name of the event or meeting.
- All day: Marks the event as lasting the full day.
- Online meeting: Marks the event as an online meeting.
- Dates: Sets the event start and end date.
- Start time: Sets when the event begins.
- End time: Sets when the event ends.
- Location: Adds the physical or meeting location.
- Attendees: Adds people who should attend the event.
- Description: Adds notes, meeting context, or next steps.
Required fields are marked with an asterisk. In the example shown, Start time and End time are required.
Selecting event dates
Section titled “Selecting event dates”Click the date field to open the date picker.
The date picker allows users to select the event date from a monthly calendar. Users can move between months with the arrows, select the required day, or use Clear to remove the selected date.
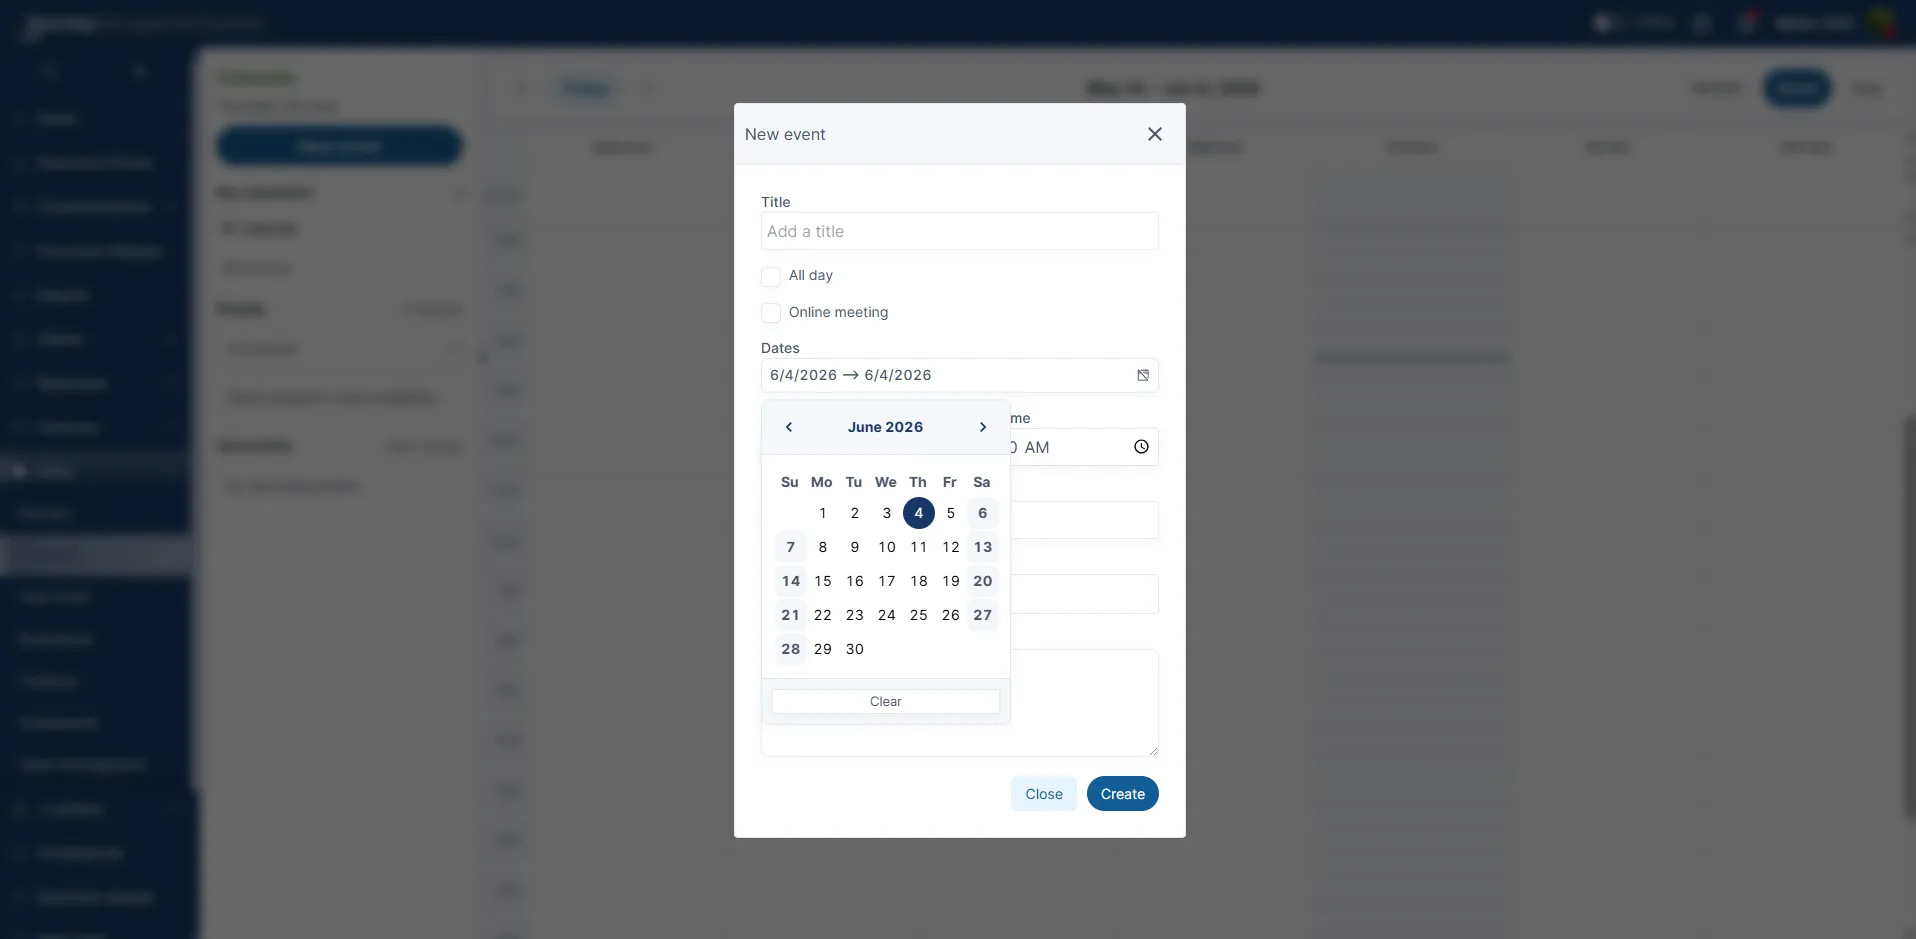
After the event details are complete, click Create to save the event.
Click Close or the X icon to exit the form without creating the event.
Best practices
Section titled “Best practices”Use the Sales Calendar consistently so that meetings, demos, and follow-ups are visible to the right people.
Before creating a meeting, check the People availability dropdown if other team members need to attend. Use the Description field to add enough context so the next user understands what the meeting is for and what should happen afterward.
When planning across multiple weeks, start in Month view, then switch to Week or Day view to choose the exact time.